Gradient nails, also known as ombré nails, are one of the hottest nail trends that add a soft, seamless blend of colors to your manicure. Whether you’re aiming for a bold color transition or a subtle fade, gradient nails offer endless creative possibilities. The best part? You don’t need to visit a salon to achieve this stunning look! With just a few tools and the right techniques, you can create mesmerizing gradient nails right at home.
This DIY-friendly trend allows you to experiment with various color combinations, from pastel fades to vibrant neon blends and elegant nude transitions. Using simple tools like sponges, nail brushes, and blending techniques, you can achieve a flawless gradient effect with minimal effort. Whether you’re a beginner or a nail art pro, these designs are easy to recreate and perfect for any occasion.
In this guide, we’ll showcase eight breathtaking DIY gradient nail ideas that will take your manicure game to the next level. Get ready to unleash your creativity and transform your nails with stunning, gradual color blends that are sure to turn heads. Let’s dive into the most beautiful gradient nail designs you can try today!
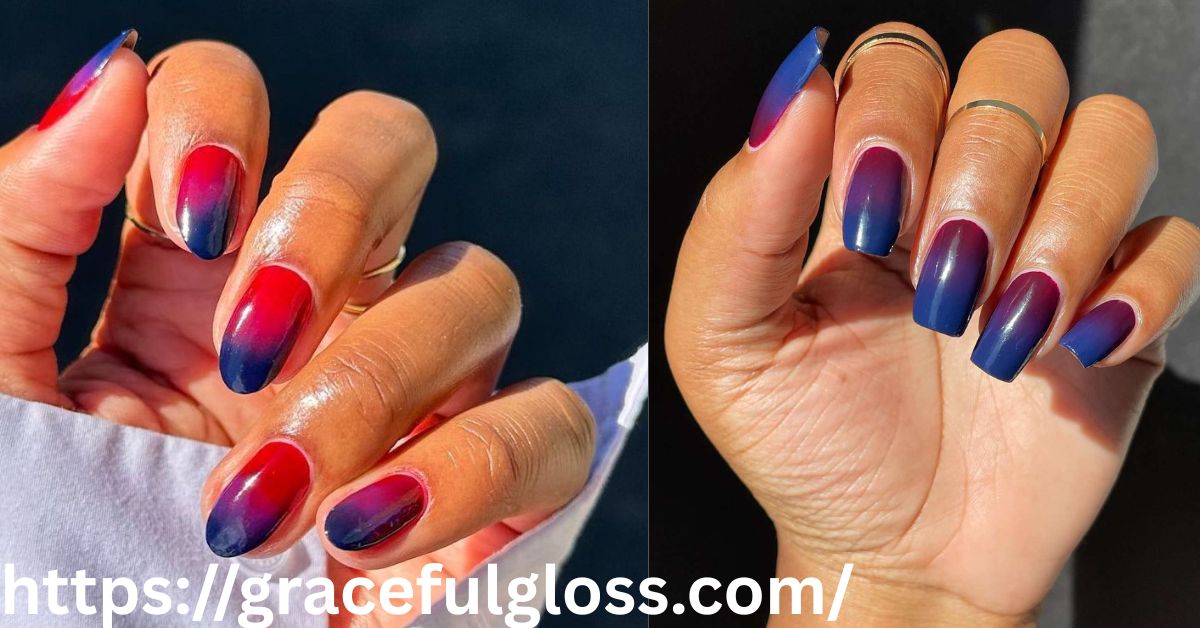
1. Classic Ombre Nails
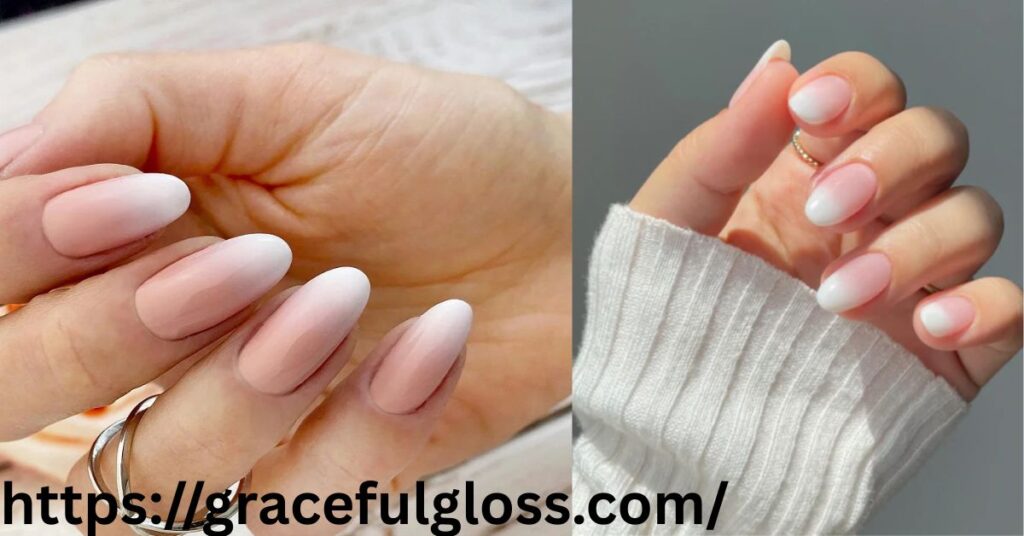
Ombre nails are a timeless trend. This gradient nail design blends two or more colors seamlessly, creating a stunning fade effect. You can achieve this look with a sponge or a special brush. Soft ombre nail shades like pink-to-white or blue-to-purple are perfect for any season. The key is to layer colors gradually for a smooth transition. Seal the design with a glossy top coat for a professional finish. If you want to add an artistic touch, try mixing in some shimmer or metallic polish.
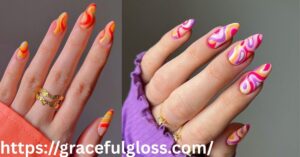
2. Sunset Gradient Nails
Inspired by breathtaking sunsets, these nails mix warm ombre nail shades like orange, red, and yellow. Start with a light base color and use a sponge to dab on darker shades, blending them smoothly. This design gives a bold, trendy nail design vibe, perfect for summer. Add a touch of glitter for a shimmering sunset effect. A glossy or matte top coat can enhance the overall look. You can also try a reverse sunset look by using deep tones at the base and fading to a lighter shade at the tips.
See Also : 8 Classy Nails Inspo Pics To Level Up Your Manicure
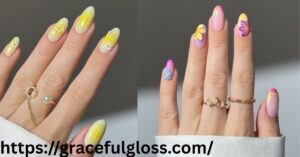
3. Pastel Fade Nails
If you love soft gradient nails, pastel fade designs are ideal. Light hues like lavender, mint, and baby pink create a dreamy look. These nail color transitions work well for spring and look effortlessly elegant. The key is to use nail polish blending techniques to merge colors smoothly. A sponge works best for achieving a soft, airy fade. Finish with a sheer top coat for a delicate glow. If you want a more playful design, try incorporating a few tiny floral decals or a pearlescent shimmer.
4. Neon Gradient Nails
For a bold and vibrant look, go for neon DIY Gradient Nails. Neon pink, green, and yellow make for a striking contrast. These colors pop under UV light, making them a top choice for parties. To create a flawless gradient nail polish idea, start with a white base to make the neon shades stand out. Blend with a sponge and finish with a high-shine top coat for extra brightness. You can also experiment with a mix of matte and glossy finishes to make certain areas stand out more.
See Also : 12 September Nails You’re Going to Obsess Over This Fall
5. Glitter Ombre Nails
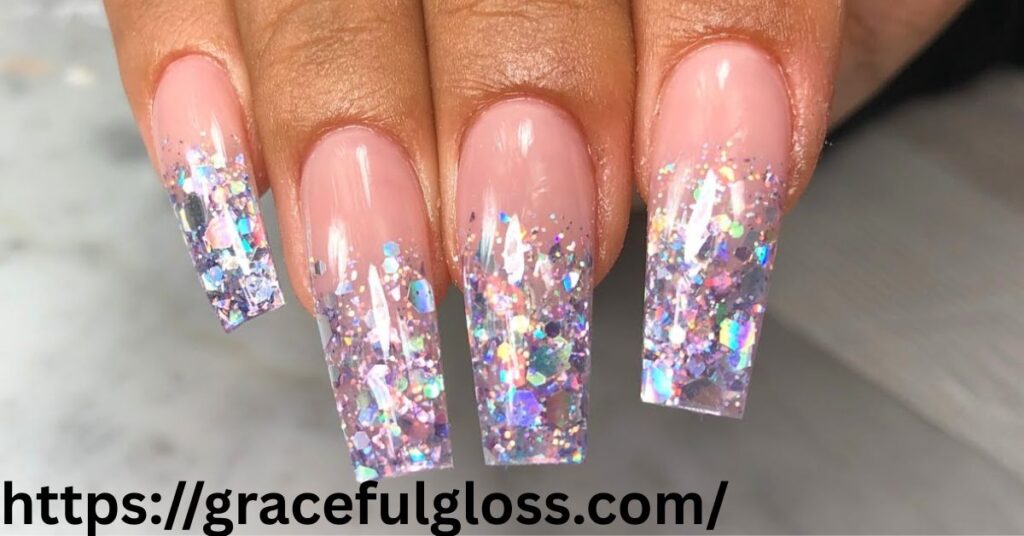
A touch of glitter adds elegance to ombre nail art. This design works great for special occasions. Start with a base color and apply glitter polish from the tips, gradually fading it down. This DIY manicure gives a glamorous effect without being overwhelming. You can use fine or chunky glitter, depending on the level of sparkle you want. Seal with a glossy top coat for maximum shine. If you prefer a subtle approach, go for a nude or sheer base color and let the glitter be the focal point.
6. Galaxy Gradient Nails
Turn your nails into a cosmic masterpiece with galaxy gradient nail techniques. This look combines dark blues, purples, and blacks with specks of white and silver. Use a sponge to create a swirling fade effect nails style. Adding star-like dots with a fine brush or a toothpick gives the illusion of a galaxy. This mesmerizing design is perfect for night sky lovers. To enhance the cosmic effect, consider adding holographic or iridescent top coats to mimic the glimmer of stars in space.
See Also : 10 Graduation Nails For A Picture-Perfect Finish Of This Milestone
7. Monochrome Gradient Nails
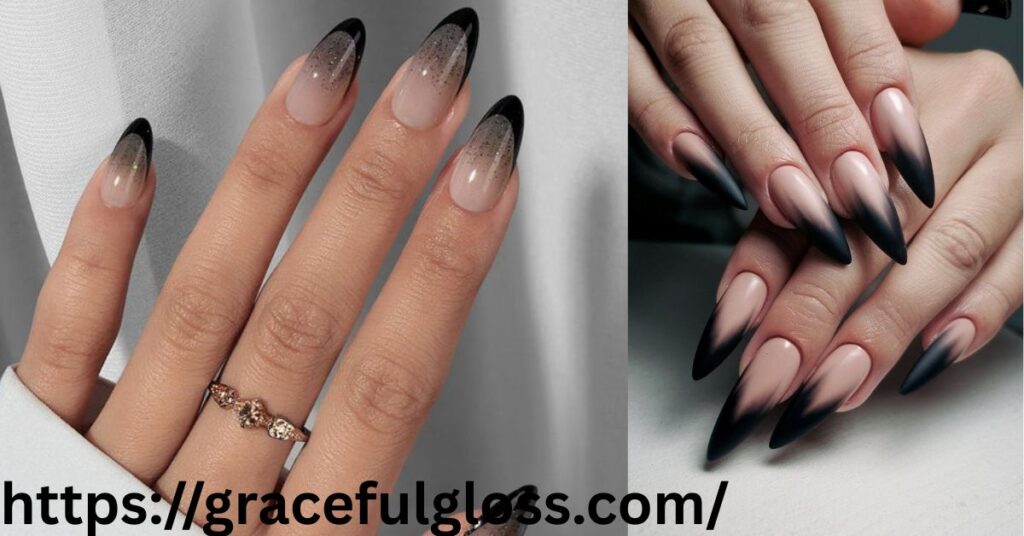
For a chic and modern look, try monochrome gradient nails. Black, white, and gray create a stylish fade that suits any outfit. This trendy nail design is simple yet sophisticated. Using step-by-step nail tutorials, you can blend these shades seamlessly. This design is ideal for a professional yet edgy vibe. A matte finish adds a sleek touch to the look. If you want to make it even more eye-catching, try incorporating a touch of silver foil or minimalist nail art accents.
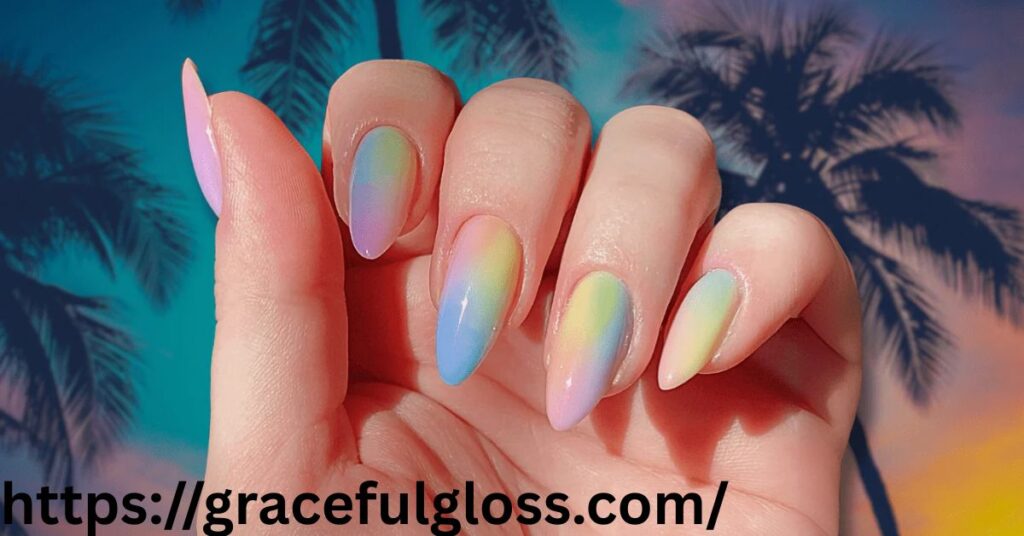
8. Rainbow Gradient Nails
If you love color, rainbow gradient nails are a must-try. These nails blend multiple shades to create a nail color transition effect. Perfect for festivals and summer vibes, this look is eye-catching and fun. The key is to use at-home nail art techniques to blend colors without harsh lines. A glossy top coat enhances the vibrancy of the colors. For extra flair, consider adding tiny rhinestones or a light dusting of iridescent glitter to make the colors pop even more.
Final Thoughts
Gradient nails are the perfect way to add a touch of elegance, creativity, and uniqueness to your manicure. Whether you prefer soft pastels, bold neon blends, or classic ombré fades, these DIY designs offer something for everyone. The best part? You don’t need a professional salon to achieve these stunning looks—just a few simple tools, some patience, and a bit of creativity.
By experimenting with different color combinations and techniques, you can customize your gradient nails to match any season, mood, or occasion. From subtle, everyday styles to eye-catching, statement-making designs, the possibilities are endless. Plus, mastering the gradient effect will elevate your at-home manicure skills, saving you both time and money.
Now that you have eight gorgeous DIY gradient nail ideas, it’s time to grab your favorite polishes and start blending! Whether you’re a beginner or a nail art enthusiast, these designs will help you achieve a salon-worthy look effortlessly. Get ready to flaunt your stunning gradient nails and turn heads wherever you go!
FAQs
1. What are gradient nails?
Nails with a smooth color transition, also called ombré nails.
2. What do I need?
Nail polishes, a sponge, base coat, topcoat, and remover.
3. How do I blend colors?
Dab polish onto a sponge and gently press onto nails.
4. Can I use gel polish?
Yes, just blend and cure under a UV lamp.
5. How long do they last?
Up to a week with a topcoat.
6. What color combos work best?
Pastels, neons, nudes, or sunset shades.

Emma Wise is a passionate fashion writer at GracefulGloss.com. With a keen eye for style and a love for creativity, she delivers inspiring content that helps readers embrace their unique elegance and stay ahead of fashion trends.