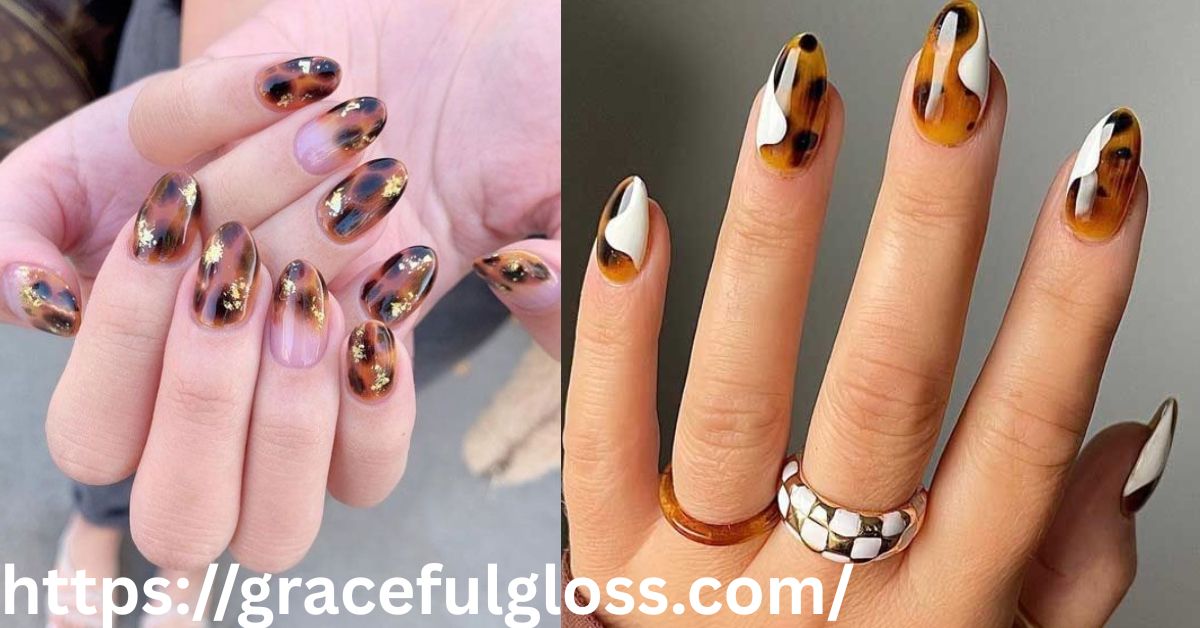
As the leaves turn golden and crisp air settles in, it’s time to embrace fall’s warm, earthy hues—and that includes your manicure. Enter tortoiseshell nails, the chic, multi-tonal design taking over this season. Inspired by the rich amber, caramel, and deep brown tones of tortoiseshell patterns, this look brings a sophisticated yet playful touch to your nails.
Dubbed “tortie season” by nail artists, this trend is a favorite for its versatility. Whether worn as a full manicure, French tips, or a subtle accent, tortoiseshell nails complement any outfit, making them a go-to for fashion-forward individuals. The design’s organic, marbled effect creates depth and dimension, giving your nails a luxurious, salon-worthy finish.
What’s even better? You don’t need a professional nail technician to achieve the look. With the right tools, a little patience, and a step-by-step approach, you can create stunning tortoiseshell nails at home. From layering amber and brown hues to mastering the signature marbled effect, we’ve got you covered with an easy tutorial.
Ready to elevate your fall manicure? Keep reading to learn how to nail this trend and bring a touch of seasonal elegance to your fingertips. 🍂💅
What Are They?
Tortoiseshell nails are this season’s hottest manicure trend, featuring warm amber tones and brown polish layers that mimic the natural tortoise shell pattern. Their autumn manicure appeal makes them a go-to for fall fashion lovers. Inspired by classic textures, this nail design complements various nail shapes and styles. Celebrity manicurists, including Priscilla Rivas, rave about their versatility. Whether you opt for gel nails or a DIY manicure, this look is both trendy and timeless. Ready to embrace the marbling effect of this chic fall trend?
See Also : The 15 Best July Nail Colors, Guaranteed To Be Your Favorite Summer Mani Yet
1. DIY Tortoiseshell Nails
Achieving salon-quality tortoiseshell nails at home is easier than you think. With the right nail polish layers, blending techniques, and a steady hand, you can create a fall manicure that turns heads. Start with a base coat and work your way up using nail art brush techniques. The key is layering sheer colors to enhance the nail aesthetics. Curing with a gel lamp can help seal the design for longer wear. Let’s break it down step by step.
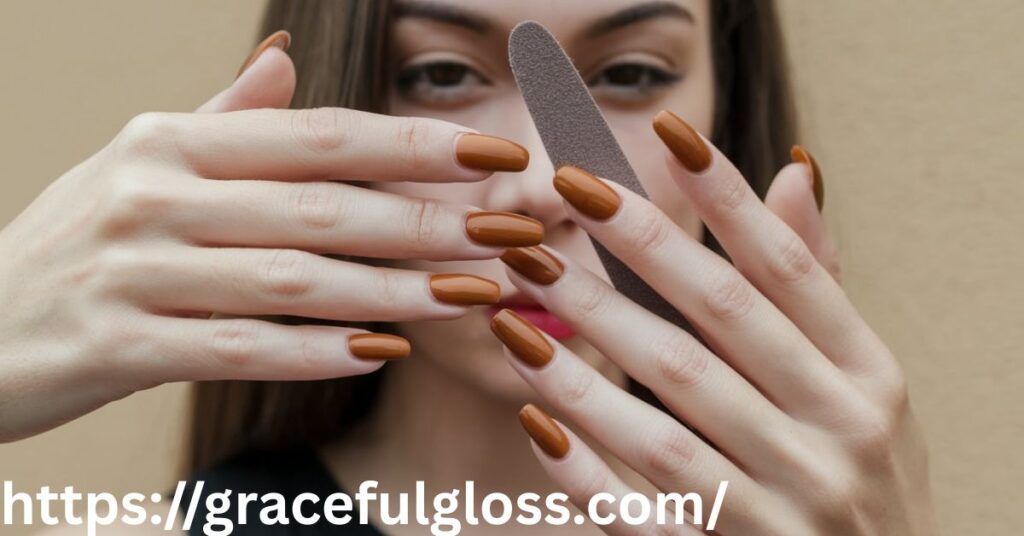
2. Prep Your Nails
A flawless DIY nail art look starts with proper nail preparation. Trim, file, and shape your nails to perfection, ensuring they match your preferred nail shape. Push back cuticles for a neat, professional finish. Apply a base coat to smooth the surface and protect against staining. A well-prepped nail ensures tortoiseshell nails last longer and look more polished. Skipping this step can lead to chipping and uneven application. Now, let’s move on to the fun part—applying color!
See Also : The 13 Best September Nail Colors, Guaranteed To Get You Excited For Fall
3. Apply Amber Polish
The foundation of tortoiseshell nails lies in their signature amber tones. Use a sheer amber polish or mix a jelly polish with clear topcoat for a translucent effect. Apply two thin coats, letting each dry completely to build depth. This step is essential for achieving the nail polish layers needed for an authentic marbling effect. If using gel nails, cure each layer under a gel lamp. The warmth of the autumn color palette starts coming to life here.
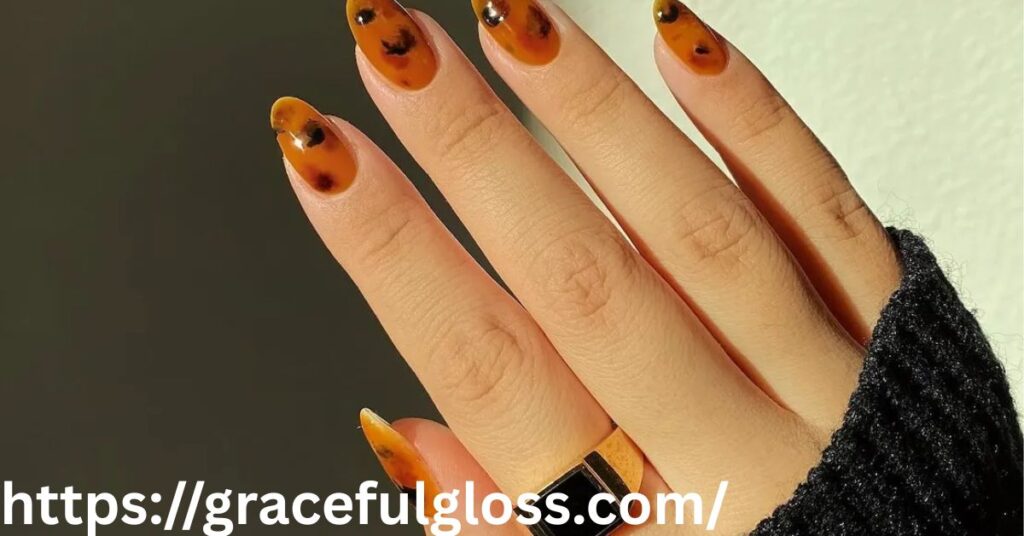
4. Add Brown Blobs
Creating sheer brown polish blobs is what gives tortoiseshell nails their distinct look. Using a nail brush, dot irregular shapes across the nail—don’t aim for perfection. The randomness adds to the natural nail aesthetics. These blobs create contrast against the amber polish layers, enhancing the fall nails appeal. Avoid harsh lines; instead, let the color melt into the base. This step is crucial for achieving an organic, marbling effect.
See Also : The Ultimate Guide to 21 Summer Nail Colors That Aren’t Neon Yellow
5. Blend for a Marbled Effect
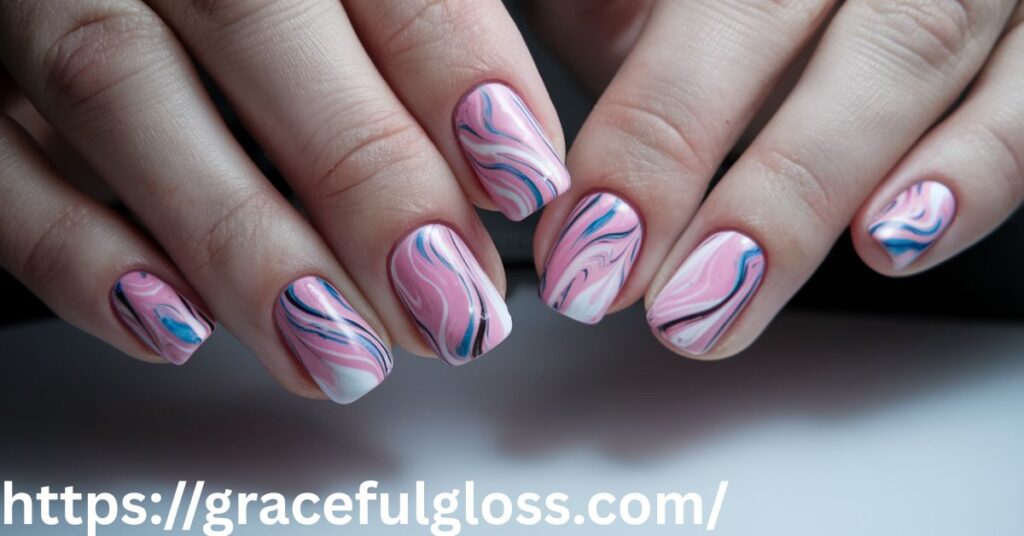
Blending the sheer brown blobs gives tortoiseshell nails their soft, dimensional look. Use a nail brush or sponge to lightly smudge the edges, softening the contrast. The goal is to create a tortoise shell pattern with a natural, imperfect finish. Adding blending techniques prevents the design from looking flat. This layering process mimics the rich variations seen in real tortoiseshell. With the right technique, the nail art becomes sophisticated and stylish.
6. Enhance with Amber Ink
A wash of amber nail ink ties everything together, adding depth to the design. This step enhances the nail polish layers, creating a more cohesive nail aesthetics. Apply a thin layer of sheer amber polish over the marbled design to smooth transitions. It should slightly tint the previous layers, making the marbling effect even more seamless. When done right, this final touch elevates tortoiseshell nails to a professional level.
See Also : 8 Gorgeous Nail Trends Everyone Will Be Asking For In 2025
7. Add Final Details

For extra realism, fine-tune the tortoiseshell pattern with small accents. Use a fine nail art brush to add delicate streaks of dark brown polish. This enhances the depth and dimension of the design. Subtle gold flakes or metallic details can add an extra pop. Avoid overloading the nail with too much detail—keeping it minimal enhances the nail aesthetics. The goal is to mimic the layered complexity of real tortoiseshell patterns.
8. Seal with Top Coat
The final step in achieving tortoiseshell nails is sealing in the design with a glossy top coat. A high-shine finish enhances the multi-dimensional effect, while a matte top coat gives a modern twist. If using gel nails, cure under a gel lamp for durability. A good top coat also prevents chipping, ensuring your fall manicure lasts for weeks. Skipping this step can lead to premature fading or dullness.
See Also : 11 Bold Nail Colors That Make a Statement
9. Pro Tips for a Flawless Look
Want a salon-quality manicure trend at home? Apply multiple thin layers instead of thick ones to maintain transparency. Experiment with different nail shapes to see what suits you best. For extra flair, add gold flakes or a French manicure twist. If you struggle with freehand designs, use stamping plates or stickers. The key is patience—taking your time ensures a stunning tortoiseshell nail art look.
10. DIY vs. Salon Nails
Should you try tortoiseshell nails at home or head to a nail salon? DIY costs less and offers full customization, while salons guarantee a flawless finish. Check this table for a quick comparison:
| Factor | DIY Tortoiseshell Nails | Salon Tortoiseshell Nails |
|---|---|---|
| Cost | $10-$30 (one-time investment) | $50-$100 per session |
| Time | 30-45 minutes | 60-90 minutes |
| Difficulty | Moderate (requires patience) | Professional-quality, easier |
| Customization | Fully customizable | Depends on the artist |
Final Thoughts
Tortoiseshell nails are the perfect way to embrace fall’s rich, earthy tones while adding a touch of timeless elegance to your manicure. Their warm amber hues, marbled brown details, and organic, imperfect design make them a standout choice for the season. Whether you opt for a full tortoiseshell look, French tips, or subtle accents, this manicure effortlessly complements any outfit, making it a must-try trend.
Best of all, creating this look at home is easier than it seems. By layering amber polish, sheer brown blobs, and a touch of marbling, you can achieve a salon-quality finish without the hefty price tag. A glossy top coat seals the deal, ensuring your nails stay chic and polished all season long.
So, if you’re looking for a fresh yet classic fall manicure, tortoiseshell nails are the way to go. Whether you’re a DIY enthusiast or prefer a professional touch, this trend is sure to turn heads. Get ready to embrace “tortie season” and elevate your nail game!
FAQs
1. What are they?
They mimic a tortoise shell with warm, marbled colors.
2. Can I do them at home?
Yes, you can easily create the look on your own.
3. Do I need gel polish?
No, regular polish works fine too.
4. How long do they last?
They can last 1–2 weeks with care.
5. Which nail shapes suit them?
All shapes work, but almond and oval are best.

Emma Wise is a passionate fashion writer at GracefulGloss.com. With a keen eye for style and a love for creativity, she delivers inspiring content that helps readers embrace their unique elegance and stay ahead of fashion trends.